Installing Kafka Clusters with Helm Charts: A Step-by-Step Guide
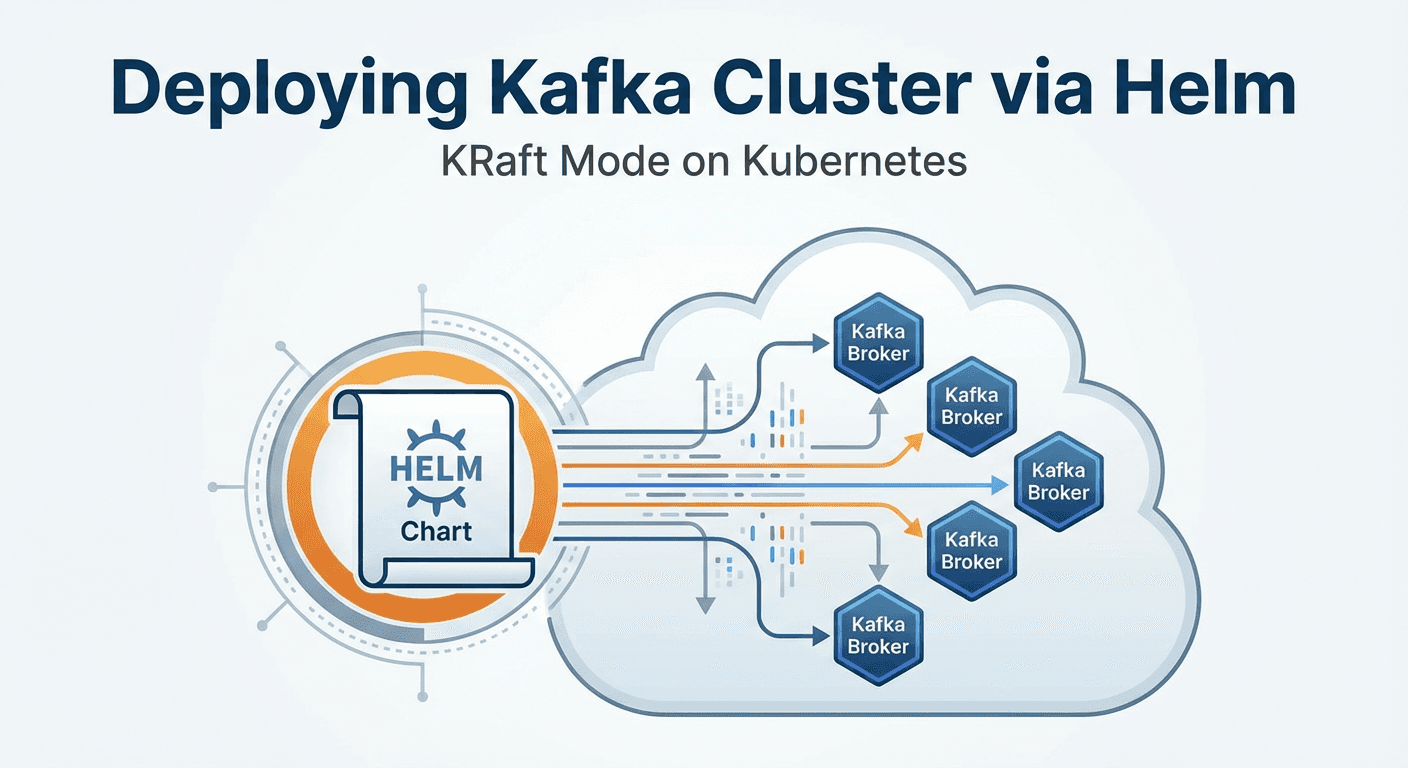
Apache Kafka is the backbone of modern data streaming, and deploying it on Kubernetes ensures scalability and resilience. In this tutorial, we will set up a Kafka cluster in KRaft mode (without Zookeeper) using a custom Helm Chart.
By the end of this guide, you will have a running Kafka cluster defined as code, ready to handle your streaming data.
Prerequisites
Before we dive in, make sure you have the following tools installed and configured:
Kubernetes Cluster: A running cluster (Minikube, Kind, or a cloud provider like GKE/EKS).
kubectl: The Kubernetes command-line tool.
Helm: The package manager for Kubernetes.
Step 1: Installing Helm
If you haven't installed Helm yet, here is how you can do it on Linux/macOS.
For macOS (using Homebrew):
brew install helm
For Linux (using Script):
curl https://raw.githubusercontent.com/helm/helm/main/scripts/get-helm-3 | bash
Verify the installation:
helm version
Step 2: Initialize the Helm Chart
Let's create the directory structure for our chart. Run the following command to generate a boilerplate chart:
helm create kafka-chart
This creates a folder named kafka-chart. Since we want to build our own logic, clean up the default templates:
rm -rf kafka-chart/templates/*
rm kafka-chart/values.yaml
Now we have a clean slate to add our configuration files.
Step 3: Configuration Files
We need to define our Chart metadata and default values.
- Chart Definition (
Chart.yaml)
Open kafka-chart/Chart.yaml and replace its content with the following to define our application info:
apiVersion: v2
name: kafka-chart
description: A Helm chart for deploying Kafka with KRaft mode
type: application
version: 0.1.0
appVersion: "1.0"
- Default Values (
values.yaml)
Create a new kafka-chart/values.yaml. This file serves as the single source of truth for our configuration (replicas, image, storage, etc.).
replicaCount: 3

service:
  name: kafka-svc
  port: 9092

image:
  repository: doughgle/kafka-kraft
  tag: latest
  pullPolicy: IfNotPresent

pdb:
  minAvailable: 2

storage:
  size: 1Gi

kafka:
  clusterId: "oh-sxaDRTcyAr6pFRbXyzA"
  replicationFactor: 3
  minInSyncReplicas: 2
  shareDir: /mnt/kafka

namespace: default
Step 4: Creating Kubernetes Templates
Now, let's create the actual Kubernetes resources inside the kafka-chart/templates/ directory.
- Headless Service (
templates/services.yaml)
We use a Headless Service (clusterIP: None) because Kafka brokers need stable network identities.
apiVersion: v1
kind: Service
metadata:
  name: {{ .Values.service.name }}
  labels:
    app: kafka-app
spec:
  clusterIP: None
  ports:
    - name: '9092'
      port: {{ .Values.service.port }}
      protocol: TCP
      targetPort: {{ .Values.service.port }}
  selector:
    app: kafka-app
- Pod Disruption Budget (
templates/pdb.yaml)
To ensure high availability during voluntary disruptions (like node upgrades), we define a PDB.
apiVersion: policy/v1
kind: PodDisruptionBudget
metadata:
  name: kafka-pdb
spec:
  minAvailable: {{ .Values.pdb.minAvailable }}
  selector:
    matchLabels:
      app: kafka-app
- StatefulSet (
templates/statefulset.yaml)
The StatefulSet manages the deployment and scaling of the Kafka pods. It handles the storage volume claims and passes necessary environment variables for the KRaft mode.
apiVersion: apps/v1
kind: StatefulSet
metadata:
  name: kafka
  labels:
    app: kafka-app
spec:
  serviceName: {{ .Values.service.name }}
  replicas: {{ .Values.replicaCount }}
  selector:
    matchLabels:
      app: kafka-app
  template:
    metadata:
      labels:
        app: kafka-app
    spec:
      containers:
        - name: kafka-container
          image: "{{ .Values.image.repository }}:{{ .Values.image.tag }}"
          imagePullPolicy: {{ .Values.image.pullPolicy }}
          ports:
            - containerPort: 9092
            - containerPort: 9093
          env:
            - name: REPLICAS
              value: "{{ .Values.replicaCount }}"
            - name: SERVICE
              value: "{{ .Values.service.name }}"
            - name: NAMESPACE
              value: "{{ .Values.namespace }}"
            - name: SHARE_DIR
              value: "{{ .Values.kafka.shareDir }}"
            - name: CLUSTER_ID
              value: "{{ .Values.kafka.clusterId }}"
            - name: DEFAULT_REPLICATION_FACTOR
              value: "{{ .Values.kafka.replicationFactor }}"
            - name: DEFAULT_MIN_INSYNC_REPLICAS
              value: "{{ .Values.kafka.minInSyncReplicas }}"
          volumeMounts:
            - name: data
              mountPath: {{ .Values.kafka.shareDir }}
  volumeClaimTemplates:
    - metadata:
        name: data
      spec:
        accessModes: ["ReadWriteOnce"]
        resources:
          requests:
            storage: {{ .Values.storage.size }}
Step 5: Deploying the Chart
With all files in place, we can now install our Kafka cluster.
Dry Run (Optional):
It's good practice to verify what will be generated before applying it.
helm install kafka-release ./kafka-chart --dry-run --debugInstall the Chart:
Run the following command to deploy:
helm install kafka-release ./kafka-chart
Step 6: Verification
Once installed, check the status of your pods:
kubectl get pods -w
You should see 3 pods (kafka-0, kafka-1, kafka-2) transitioning to the Running state.
To verify the service:
kubectl get svc
You have now successfully deployed a Kafka cluster using Helm! This setup uses the KRaft mode, removing the dependency on Zookeeper and simplifying the architecture.
Happy Coding! 🚀